

Why Veneer Moisture Content Varies
Few quality problems frustrate veneer mill operators more than uneven final moisture content. One stack comes out at 8%, the next at 15%. Within a single sheet, the edges feel crisp while the center is still damp. Customers complain. Glue press yields drop. And nobody is sure exactly where the process broke down.
This article breaks down every major cause of uneven veneer moisture after drying — from equipment defects and process settings to raw material variation and operator error — and gives you a practical checklist to find and fix the real problem fast.
1. The equipment: where most of the trouble starts
If your dryer is mechanically sound, moisture variation is usually manageable. When hardware starts drifting, uneven drying follows quickly.
Clogged or deformed air jet ducts. This is the number one cause on most job sites. Hot air exits the dryer through rows of small holes or slots along the top and bottom duct faces. Over weeks of operation, wood chips, bark fragments, and resin mist build up and block some of those holes. If 10% or more of the holes on one section are blocked, the veneer passing underneath that section simply does not get enough heat. The result: a clear wet stripe running down the sheet. Ducts that have warped from heat cycling make the problem worse by changing the gap between duct and veneer.
Unbalanced left-right airflow. Dryers with side-mounted fans rely on symmetric duct design and balanced damper settings. If one damper is partially closed, one fan is wearing down, or one side of the cabinet has an air leak, one side of the veneer runs drier than the other. It is common to see a 3%–5% moisture spread between left and right edges when this happens.
Roller or mesh belt height variation. Drive rollers wear unevenly. Bearings sag. Mesh belts stretch and drift off-center. When the veneer rides closer to the top duct on one side, that side gets blasted with more heat and dries faster. The other side, sitting farther from the heat source, stays wet. A height deviation of just 10 mm can cause a measurable moisture difference.
Broken insulation or failed seals. Heat escapes through damaged panels, worn door gaskets, and open service hatches. The area near the leak runs cooler, and veneer passing through that zone dries more slowly. Over time, the effect compounds because the control system tries to compensate by raising overall temperature — which then over-dries sheets in the hot zones.
Sensor drift. Thermocouples and RTDs drift with age. If a sensor reads 10°C low, the control system thinks the zone is at setpoint when it is actually underheating. Worse, many dryers only measure temperature at the centerline of the chamber. Edge temperatures — which are often 5°C–15°C lower — are never seen by the controller at all.
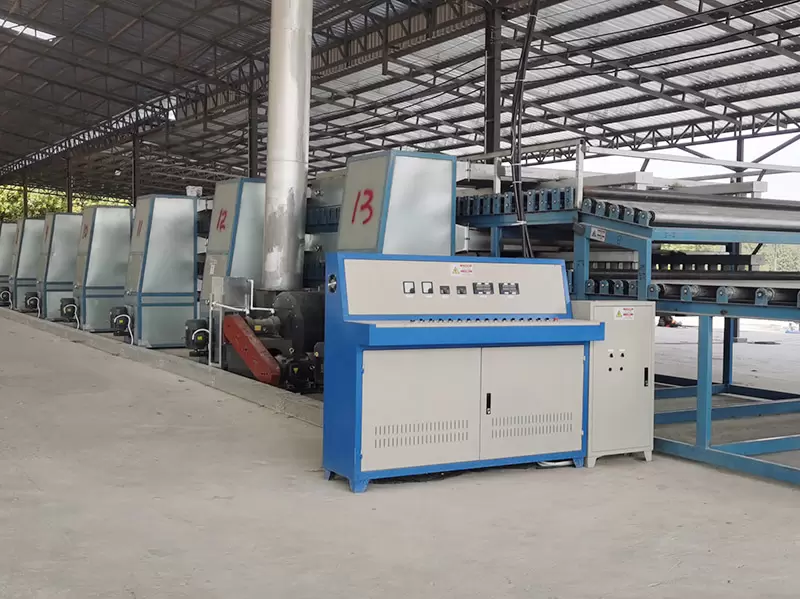
2. Process settings: when the machine is fine but the recipe is wrong
Sometimes every component works perfectly and you still get variation — because the parameters are wrong for what you are running.
Line speed too fast. This is the most common mistake driven by production pressure. When you push the VFD beyond the design dwell time, thick veneer leaves the dryer with a wet core. Thin sheets may be fine, but anything above 2.5 mm will show a moisture gradient through the thickness. The fix is not complicated: slow down or add decks.
No temperature zoning. Cheap single-zone dryers force you to pick one temperature for the whole chamber. That means you are always trading off between surface over-drying and core under-drying. Proper multi-zone dryers use a preheat zone (80–100°C), a main drying zone (120–160°C), and a cooling zone (below 40°C). Without this gradient, water cannot migrate out of the fiber in an orderly way.
Wrong settings after thickness change. Switching from 1.7 mm to 3.0 mm veneer without adjusting speed or temperature is asking for trouble. Thin stock dries in a fraction of the time. Run thick stock at thin-stock settings and it comes out wet. Run thin stock at thick-stock settings and it emerges brittle and over-dried. Every thickness needs its own recipe.
Target moisture set too low. Chasing 6% final MC when your plant norm is 10%–12% forces the dryer to run longer and hotter. Thin sheets hit 4% while thick sheets are still climbing. The scatter widens. Set a realistic target for your product and your climate, then hold it.
3. Raw material: the variable you cannot control but must manage
Initial moisture content spread. Freshly peeled veneer from the same log can range from 50% at the small end to 75% at the butt. Outer rounds cut earlier in the log run wetter than inner rounds. If you load all of this into the dryer without sorting, the wettest sheets will never dry to target in a single pass. The only reliable fix is to sort veneer by approximate initial MC and dry each grade separately.
Mixed species. Poplar, pine, rubber wood, eucalyptus, and birch all dry at different rates. Poplar dries almost twice as fast as eucalyptus at the same temperature. Mixing species in one dryer batch guarantees some sheets will be over-dried while others are still wet.
Thickness variation within a sheet. Worn knives, misaligned pressure bars, and unstable lathe settings produce veneer that varies 0.3–0.5 mm across its width. The thin sections dry first and keep absorbing heat while the thick sections are still venting moisture. The result is a sheet that feels dry at the edges and wet in the middle.
Curled or folded veneer. Sheets that enter the dryer wavy, curled, or folded create air gaps. The high spots sit close to the duct and scorch. The low spots and folds get almost no airflow and stay wet. An automatic stacker or flattener at the infeed helps, but the real solution is better lathe maintenance and immediate drying after peeling.
4. Operator error: simple things that ruin good equipment
Off-center loading. If the sheet enters the dryer shifted left or right, one edge rides closer to the near-side duct. That edge over-dries; the far edge under-dries. Train operators to center every sheet, or install mechanical guides at the infeed.
Double-sheet feeding. Two sheets stacked together occasionally slip through manual loading. The top sheet dries reasonably well; the bottom sheet is insulated by the top sheet and comes out at 20%+ MC. Automatic feeders with optical sensors largely eliminate this, but manual lines need vigilant operators.
Irregular spacing. Gaps between sheets that vary from 50 mm to 500 mm cause uneven airflow distribution through the chamber. Crowded sections block hot air from reaching downstream sheets. Consistent spacing — or better yet, continuous infeed — keeps airflow stable.
No routine cleaning. Ducts, return air channels, and heat exchanger surfaces accumulate dust and chips. After a few weeks, airflow drops measurably. Moisture content creeps up and scatter widens. A weekly cleaning schedule prevents this entirely.
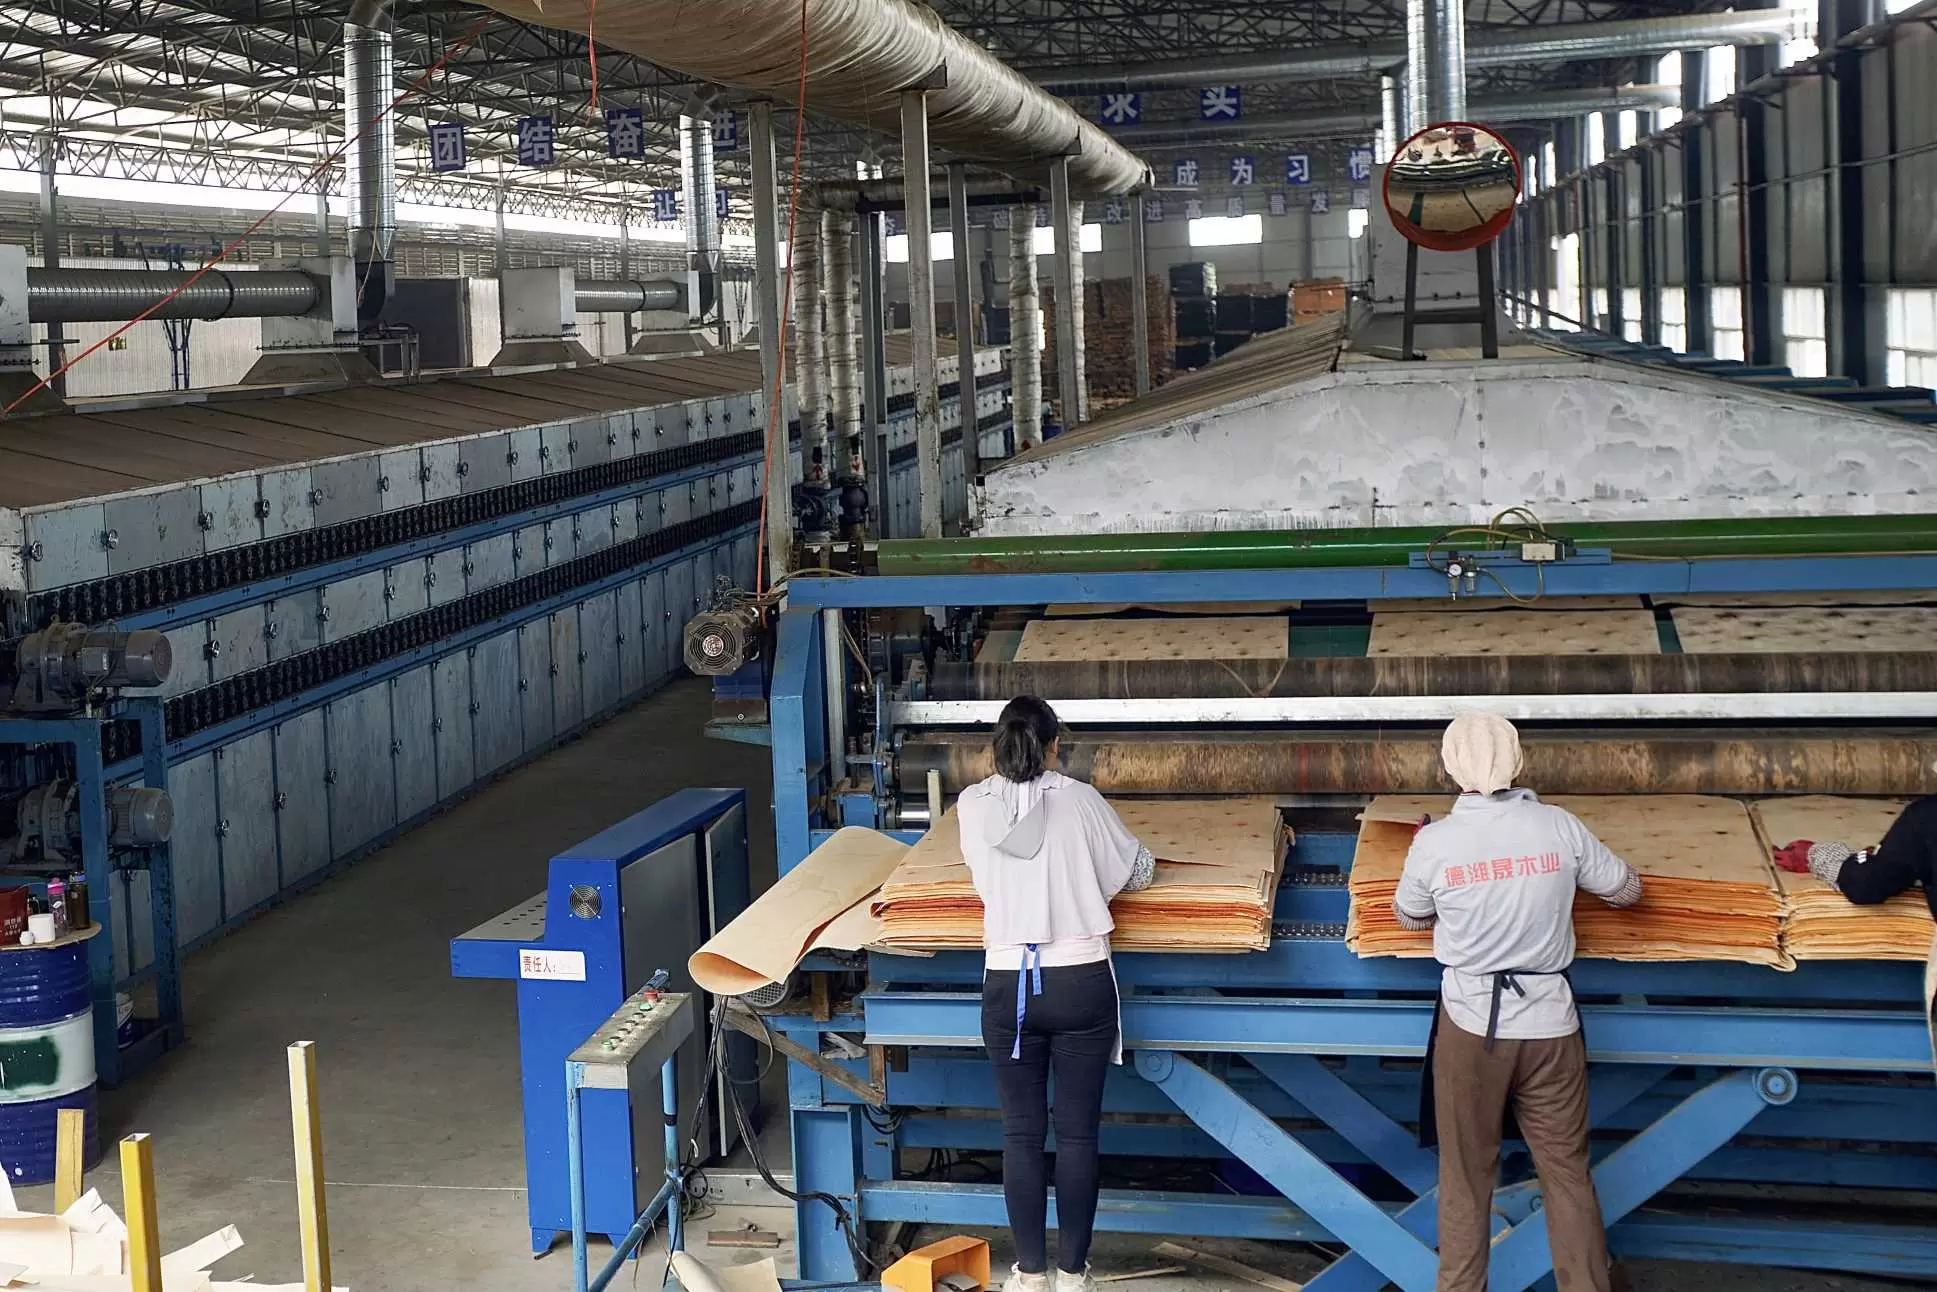
5. Environment: the invisible factor
High shop humidity. In monsoon seasons or coastal locations, ambient relative humidity above 80% causes hot veneer exiting the dryer to reabsorb moisture within minutes. The surface MC can climb 2%–3% before the stack is wrapped. A dehumidified cooling zone or immediate wrapping at the outfeed solves this.
Cold air infiltration at infeed. Missing or torn curtain strips at the loading end let cool, damp air rush in. Fresh veneer passing through that zone loses heat from its surface, slowing early moisture migration. Replace curtains regularly.
Hot stacking. Sheets exiting above 50°C and immediately stacked in a pile redistribute internal moisture toward the center of the stack. The outer sheets cool and dry further; the inner sheets re-wet. Always cool below 40°C before stacking, or use a forced-air cooling section.
6. The fast diagnostic checklist
When moisture variation appears on the floor, check these six items in order:
Measure air velocity at the duct face. Walk the full width with an anemometer. Variation over ±15% means you have a blockage or fan problem.
Inspect duct holes visually. Open the access doors. If more than 10% are blocked, schedule a cleaning immediately.
Check roller or belt height. Use a straightedge and level. Any section more than 5 mm out of plane needs adjustment.
Verify sensors. Compare displayed zone temperature to a handheld infrared thermometer at the same location.
Test incoming veneer MC. Random sample 10 sheets. If initial MC varies more than 15%, you need to sort before drying.
Watch the infeed. Stand at the loading end for 10 minutes. Is every sheet centered? Is spacing consistent? Are any doubles getting through?
7. Bottom line
Uneven veneer moisture is rarely one single catastrophic failure. It is usually airflow imbalance plus incoming material variation plus a process setting that no longer matches what you are running. Fix the airflow first — that solves 70% of cases. Then sort your incoming veneer by thickness and approximate moisture. Then lock in the right speed and temperature recipe for each product type.
At Shine Machinery, our dryers are built around zoned temperature control, balanced symmetric airflow, and VFD-driven speed adjustment specifically to minimize moisture scatter. When we size a line for your plant, we factor in your species mix, thickness range, and local climate so the equipment arrives ready to hold ±1.5% moisture variation from day one.
Send us your typical veneer specs and your current moisture problem description. We will tell you whether it is an equipment issue, a process issue, or a material issue — and exactly what to change.